A Flipgrid Guide for Parents
Welcome to the Flipgrid helpguide for parents, please browse our step-by-step guide below or download the PDF version here.
What is Flipgrid?
Flipgrid is a video recording tool that we use in school to enable conversations and thoughts from children around the curriculum. Teachers record questions and thoughts for children to respond to. Depending on the way teachers set up their topics, children may receive ‘gradings’ on their responses and may be able to reply to one another’s thoughts.
Our Flipgrids are set up in secure networks. Videos recorded by your children are only visible to the staff and children within our trust.

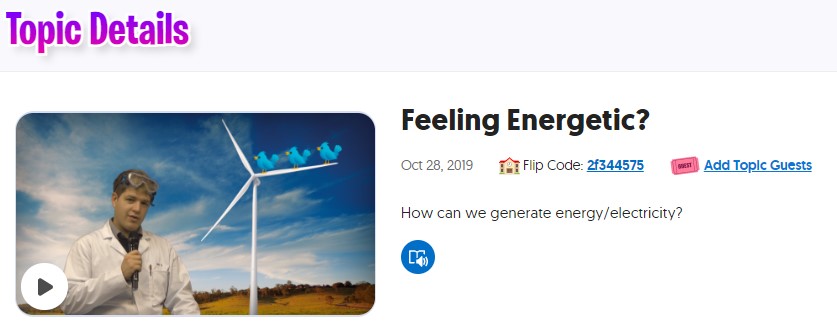
Accessing Flipgrid
There are a number of ways your child can access Flipgrid.
Method 1:
In most cases, a link to a particular question (or ‘topic’) will be embedded into OneNote or Teams by a teacher. This could appear as:
- A hyperlink
- A QR Code
- Or an embedded video
To log in, use the ‘Log in with Microsoft’ option and use your child’s school email and password.
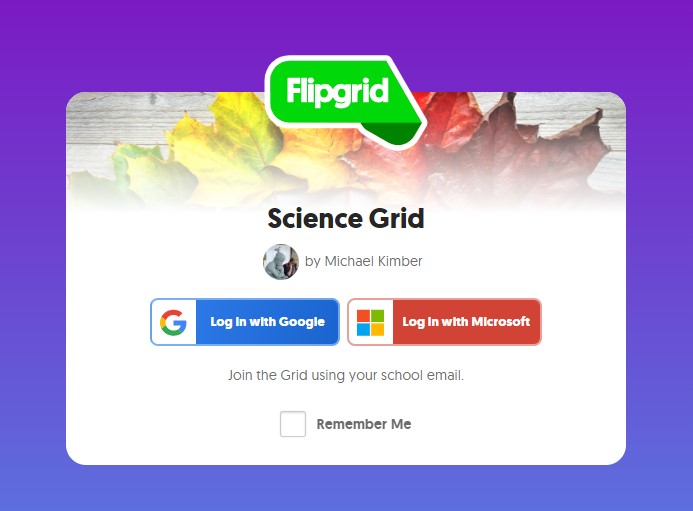
Method 2
Your child can also go directly to www.flipgrid.com
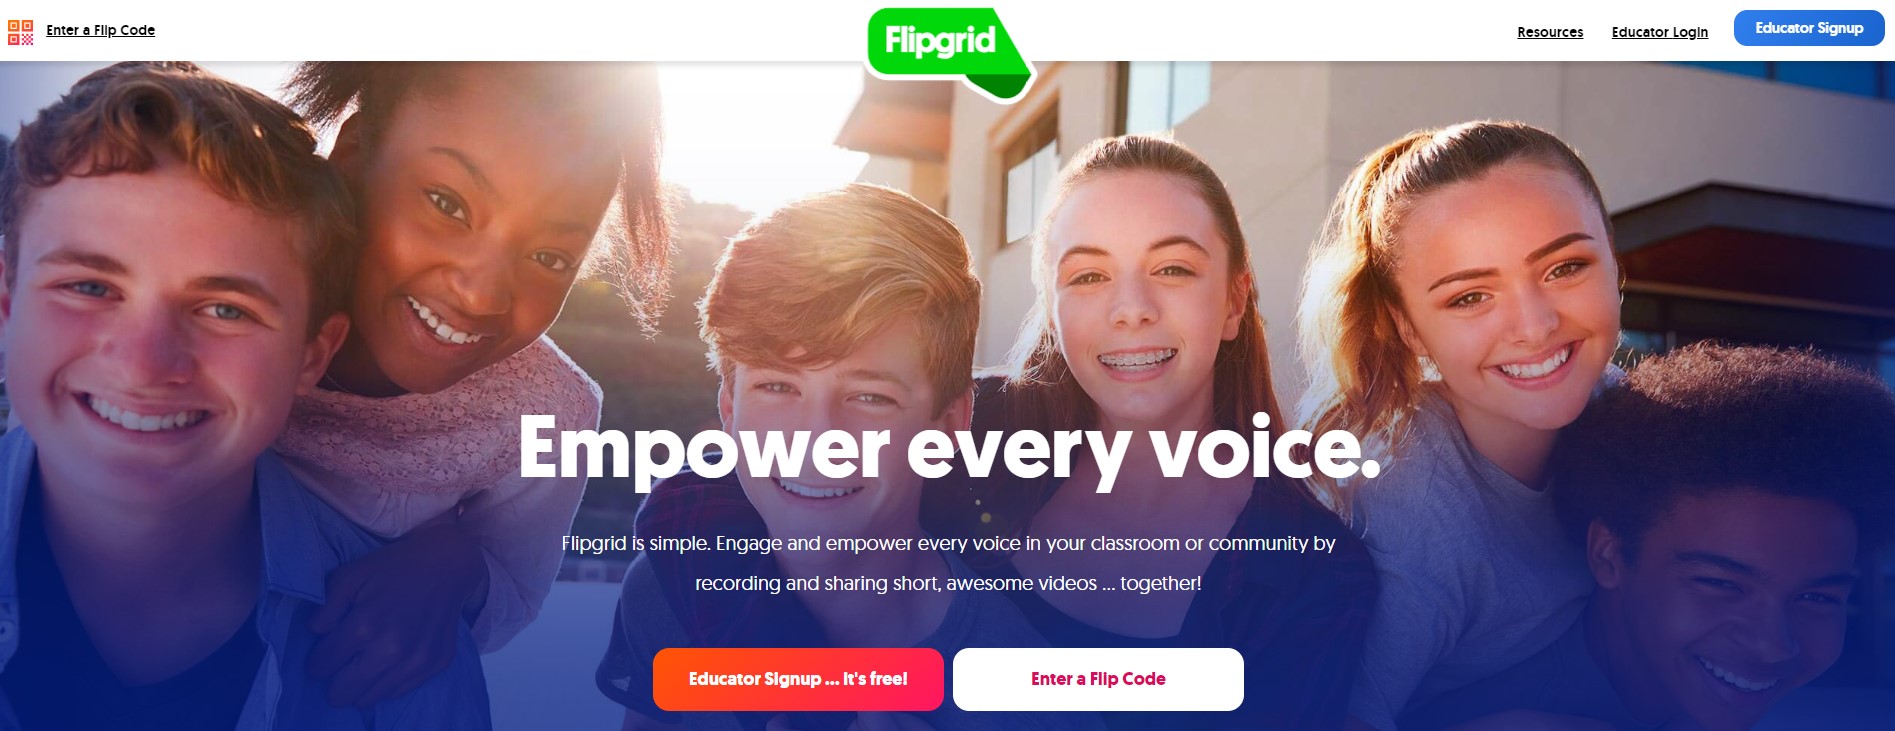
They will then need to ‘Enter a Flip Code’ – buttons found or the top left of the screen or at the bottom centre seen above.
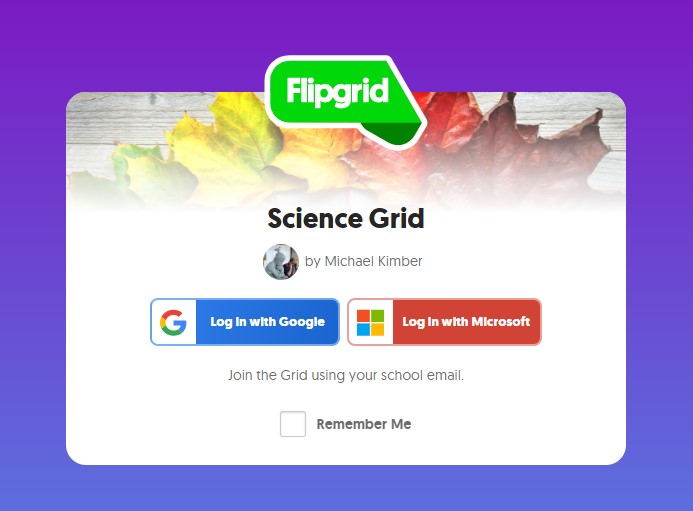
This will prompt your child to enter their Flip Code – this will be provided by their teacher (See here the code for our Science grid):
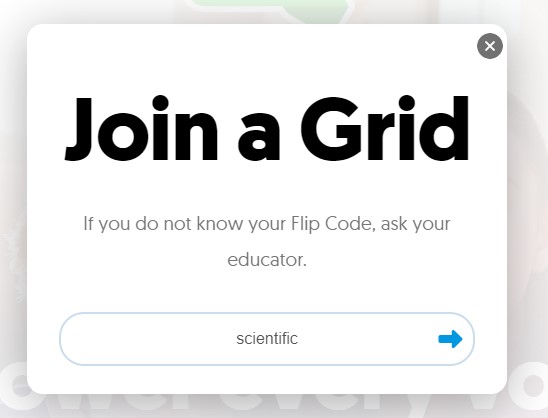
Once entered, your child will be asked to log in – use the ‘Log in with Microsoft’ option and enter your child’s school email address and password.
Depending on the code they have been provided with, they will now be in one of two places.
- Seeing the whole ‘grid’. A grid is the whole collection of teachers’ videos within a specific area. The code ‘scientific’ in this example would let your child see every video in our Science grid. In this case your child would need to locate the specific video they’ve been asked to respond to or search for one they’d like to have a go at – depending on what has been asked of them.
- Seeing a particular video (or ‘topic’). This will give them immediate access to respond to the teacher’s video.
- Making a video
Once your child has accessed the topic they have been asked to respond to, they will be able to record their response to the teacher.

They will need to click this button to do so
There are numerous factors the teachers can control which may affect the way this looks to your child, including:
- Response time: Teachers can set this to range from 15 seconds to several minutes, depending on what kind of answers they are looking for. Children should take this in account when planning what they’d like to say.
- Filters and Stickers: There are lots of ways your child can customize their videos during production and afterwards. Teachers may limit these.
- Moderation: In most cases, children’s responses will become immediately available to watch by others. However, teachers may wish to moderate videos before they make them viewable – in this case it may initially appear that your child’s video hasn’t recorded properly as it won’t appear as a response until the teacher has approved it.
- Student-to-student replies: Teachers can switch this feature on and off, but when it is on it will enable your child to respond to their peers by sending a video in response to others’ videos.
After recording, your child will be asked to take a ‘selfie’ which will act as the ‘preview photo’ of their video – the image that displays in the list of responses. Though this is typically their face, it doesn’t necessarily have to be. Similarly to the video recording, there are lots of ways children can customise this.
